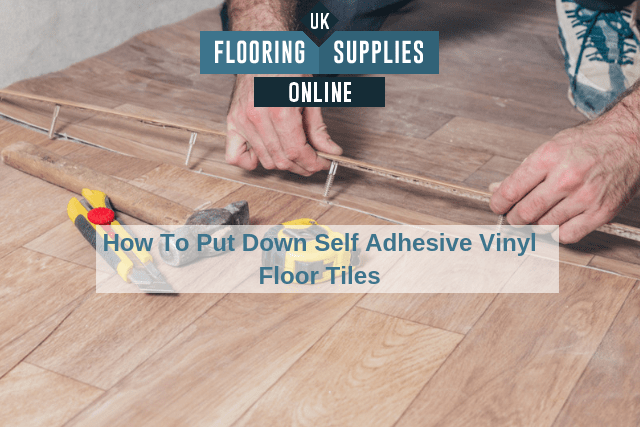
 Luxury vinyl tiles are come in a wide range of colours and make a durable floor material. Moreover, the self-adhesive vinyl floor tiles have a peel-and-stick backing, making the installation process a lot easier compared to tiles, which require mortar.
Floor preparation
Whether you are installing the luxury vinyl tiles in your bathroom, kitchen, laundry room or any other room, you need to prime the floor, which can be excellently achieved using latex floor primer. The primer comes in handy especially if the sub floor is concrete or porous plywood as it creates a surface that the adhesive clings on to. Before you start the installation process, ensure that the floor is smooth, clean and dry and that it is free from dust, grease among other impurities.
Installation
After ensuring that your floor is clean, measure the room and divide it by vinyl plank length and width while marking it to guide your laying. Following the markings, start at the centre and work outwards. It is advisable to dry-lay a tile row from the centre towards the walls. Once you have dry-laid, check the gap left and avoid a narrow gap as a thin strip of a tile at the end may not stick well. Adjust the starting position and dry-lay again until you get a reasonable gap; half a tile gap is recommendable as it will look fit and stick well.
Now that you have the layout fully figured, it is time to take the final step. Remove the backing by peeling it off and then press the tile’s edge at the start line followed by lowering it onto the floor and pressing it down. Move on to the next tile and fit it adjacent to the first tile and make a pattern with some more tiles. Use the square to guide your process by forming a pyramid shape and continue to lay the tiles to at least half of the room.
Cutting the tiles
Cutting the tiles can be messy if you are not careful. Here is a quick guide to ease the process following your measurements
- Equip yourself with a craft knife and a chinagraph pencil
- Place the tile to be cut on top of one that is uncut.
- Cover the tile to be cut using another tile and ensure its edges are touching the wall.
- Use the chinagraph pencil to mark the tile to be cut along the edges of the one on the top.
- Place the tile that has been marked on board and use a craft knife to cut it into shape.
- Bend the tile until it snaps
As you place the tiles on the gaps, make sure that the cut edges face the wall to ensure that they are covered by moulding at the end of the installation.
Tip: Before you begin putting down the self-adhesive luxury vinyl tiles, it is advisable to let them sit for at least 24 hours in the room you intend to install to allow for acclimatisation as the tiles are exposed to different condition during delivery.
If you are looking for high quality domestic, commercial, business and industrial flooring supplies at the lowest online prices, contact us at UK Flooring Supplies Online.